To give any electronic project a neat look it is always very important to put it in an enclosure of appropriate sizes and shapes. Our VFD clock is not an exception and also needs a box. There are at least three ways to do so. First is to find something off-the-shelf. This is probably the cheapest and less time consuming solution. The problem is that there is literally no chances to find a box that does not look bulky and ugly and at the same time is capable of accommodating our long VFD panel and power supply along with some room for Freeduino board. Moreover, a box would still require some substantial efforts to secure boards and the panel inside by drilling many holes and in the end would look ugly anyway.
Second approach is to design a 3D model of enclosure in a CAD system then place an order with a manufacturing house and make it using 3D printing technology. This would probably give best results in terms of shape but would require rather advanced skills in 3D modelling and in addition would cost us a fortune.
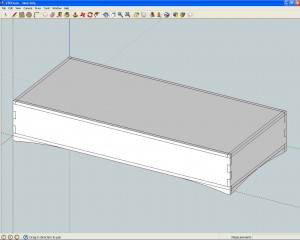
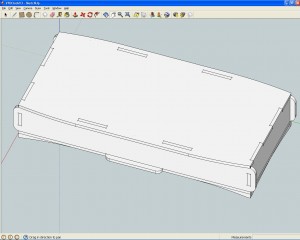
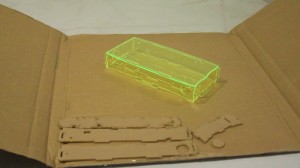
A compromising solution would be the third approach – to make a box of acrylic panels that are laser cut by a manufacturing house like Ponoko making system. The design files could be prepared even in Corel Draw or Inkscape (although we would strongly recommend to use a 3D tool such as SketchUp and will explain later why). That way it would be possible to make a box as compact as possible, designing the required holes and making laser to do the hard job instead of us. It also will give us invaluable skills of making drawings for real things with opportunity to see and touch the end result. And all of this for a very reasonable price to pay for materials, machining time and shipping.
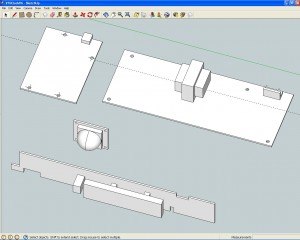
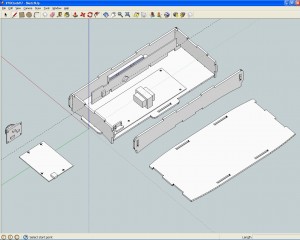
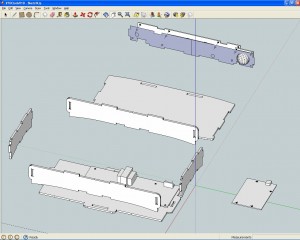
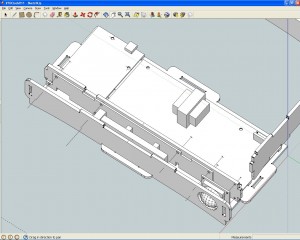
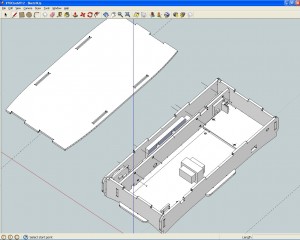
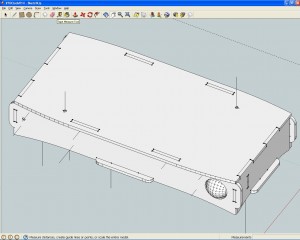
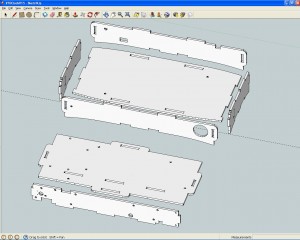
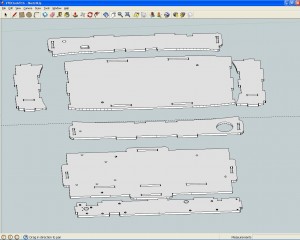
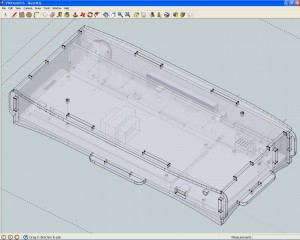
Now a few words why it is preferable to use 3D modelling tool instead of 2D one. The short answer is simple: while the overhead of complexity designing things in 3D is so low that it could be neglected there is a very powerful opportunity to fit all parts in 3D together, find and fix problems before the parts have been actually manufactured. By designing models of boards and VDF panel it is also possible to make sure that all of them fit inside our box without mutual interference.
There are some tricks and tips that we followed designing this enclosure, they are described in detail at Ponoko’s article ‘How to make snug joints in Acrylic’. There is no sharp corners in design as they create weak points in the acrylic, that is why every corner has a small radii. Another trick is that slots are made slightly smaller than they would be in ideal world – to compensate the material that is burnt away by laser.
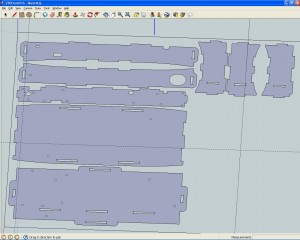
To export data in 2D Sketchup-svg-outline-plugin needs to be installed. Guys from Flights Of Ideas company have done a great job – now it is very easy to export paths from 3D SketchUp designs.
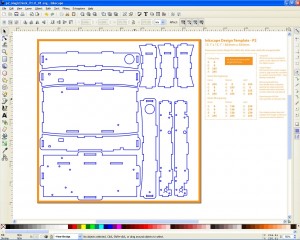
The final 2D drawing is ready to be submitted to Ponoko. An attentive reader has probably noticed that the number of parts is bigger than is needed. Yes, this is just to maximise the use of material – if you don’t need spare parts then just delete excessive elements before sending the design to the manufacturing house.


Leave a Reply
You must be logged in to post a comment.