


This article was prepared back in October 2013 but remained unpublished all these months. At first, when we got Arducam Rev.C in possession its rich set of features and performance inspired us greatly. However, just within a few days the interested moved on, became dim and then quickly faded away. It simply turned out that despite all advantages there were as much limitations. Flicking through the list of unpublished posts we decided to review the article and give it another go. But enough of foreword, here is the article itself.
Necessity of taking pictures by means of an embedded platform is not new. The problem existed for a while as it was (and still is) very resource demanding in spite of tremendous advances in embedded computing last years. The problem is aggravated by the fact that people are getting used to better picture quality as technology evolves so solutions that had reasonable performance and image resolution couple of years ago are not acceptable anymore. It has been always a trade off between picture quality and hardware non-overcomplication. In other words, for cheap and inexpensive 8-bit Arduino-like host controller during last few years there was not that much to choose from: a serial enabled VGA camera module C328 replaced with uCam and LinkSprite. Both have been recently discontinued as they couldn’t offer resolution greater than VGA while having a price tag at around $50. The only alternative to the abovementioned VGA camera modules was an opensource project called Hacrocam. With a single advantage of being opensource Hacrocam had the same set of flows: same low resolution (VGA), only one image sensor type supported and similar price tag (around $40). No wonder that the project couldn’t live long life – and as for today, October 2013, the item is marked as ‘sold out’ at Hacrocam’s site.
Unlike camera modules ArduCam didn’t have much of public attention or appreciation and was silently evolving for a while. It’s first revision used LCD’s RAM as a frame buffer and therefore was limited in resolution even more than the modules. But ArduCam engineers kept working and finally Rev. B and then Rev.C came to existence. Even from a first glance it becomes obvious that this solution is superior in comparison with the abovementioned solutions. ArduCam Rev.C didn’t use any particular image sensor, instead, it supported concept of interchangeable sensors and at that time was capable of working with sensors up to 5MP. The quality of pictures and resolution was much better when comparing with products from the same ‘lightweight’ class. The Arducam board was controlled by I2C interface making it simple and easy to use. However, despite all reassurances from Arducam developers, it is NOT opensource project and it can’t be. The source code for FPGA chip is kept private and as for the design files, only Rev. B schematics is available, nothing for Rev. C and nothing for PCB design. This puts this project in the same category with countless proprietary things, as simple as that. All our questions to developers as to why this project is considered as ‘open hardware’ when there is no public access to design files – all these questions have been just silently ignored.
Nevertheless, let’s have a look at the Arducam board and do a test driver. As it turned out, the board didn’t quite mate with Arduino Mega that has been in our lab – it was a bit old and didn’t have I2C pins at right location. We did a workaround as it is shown on the picture below.
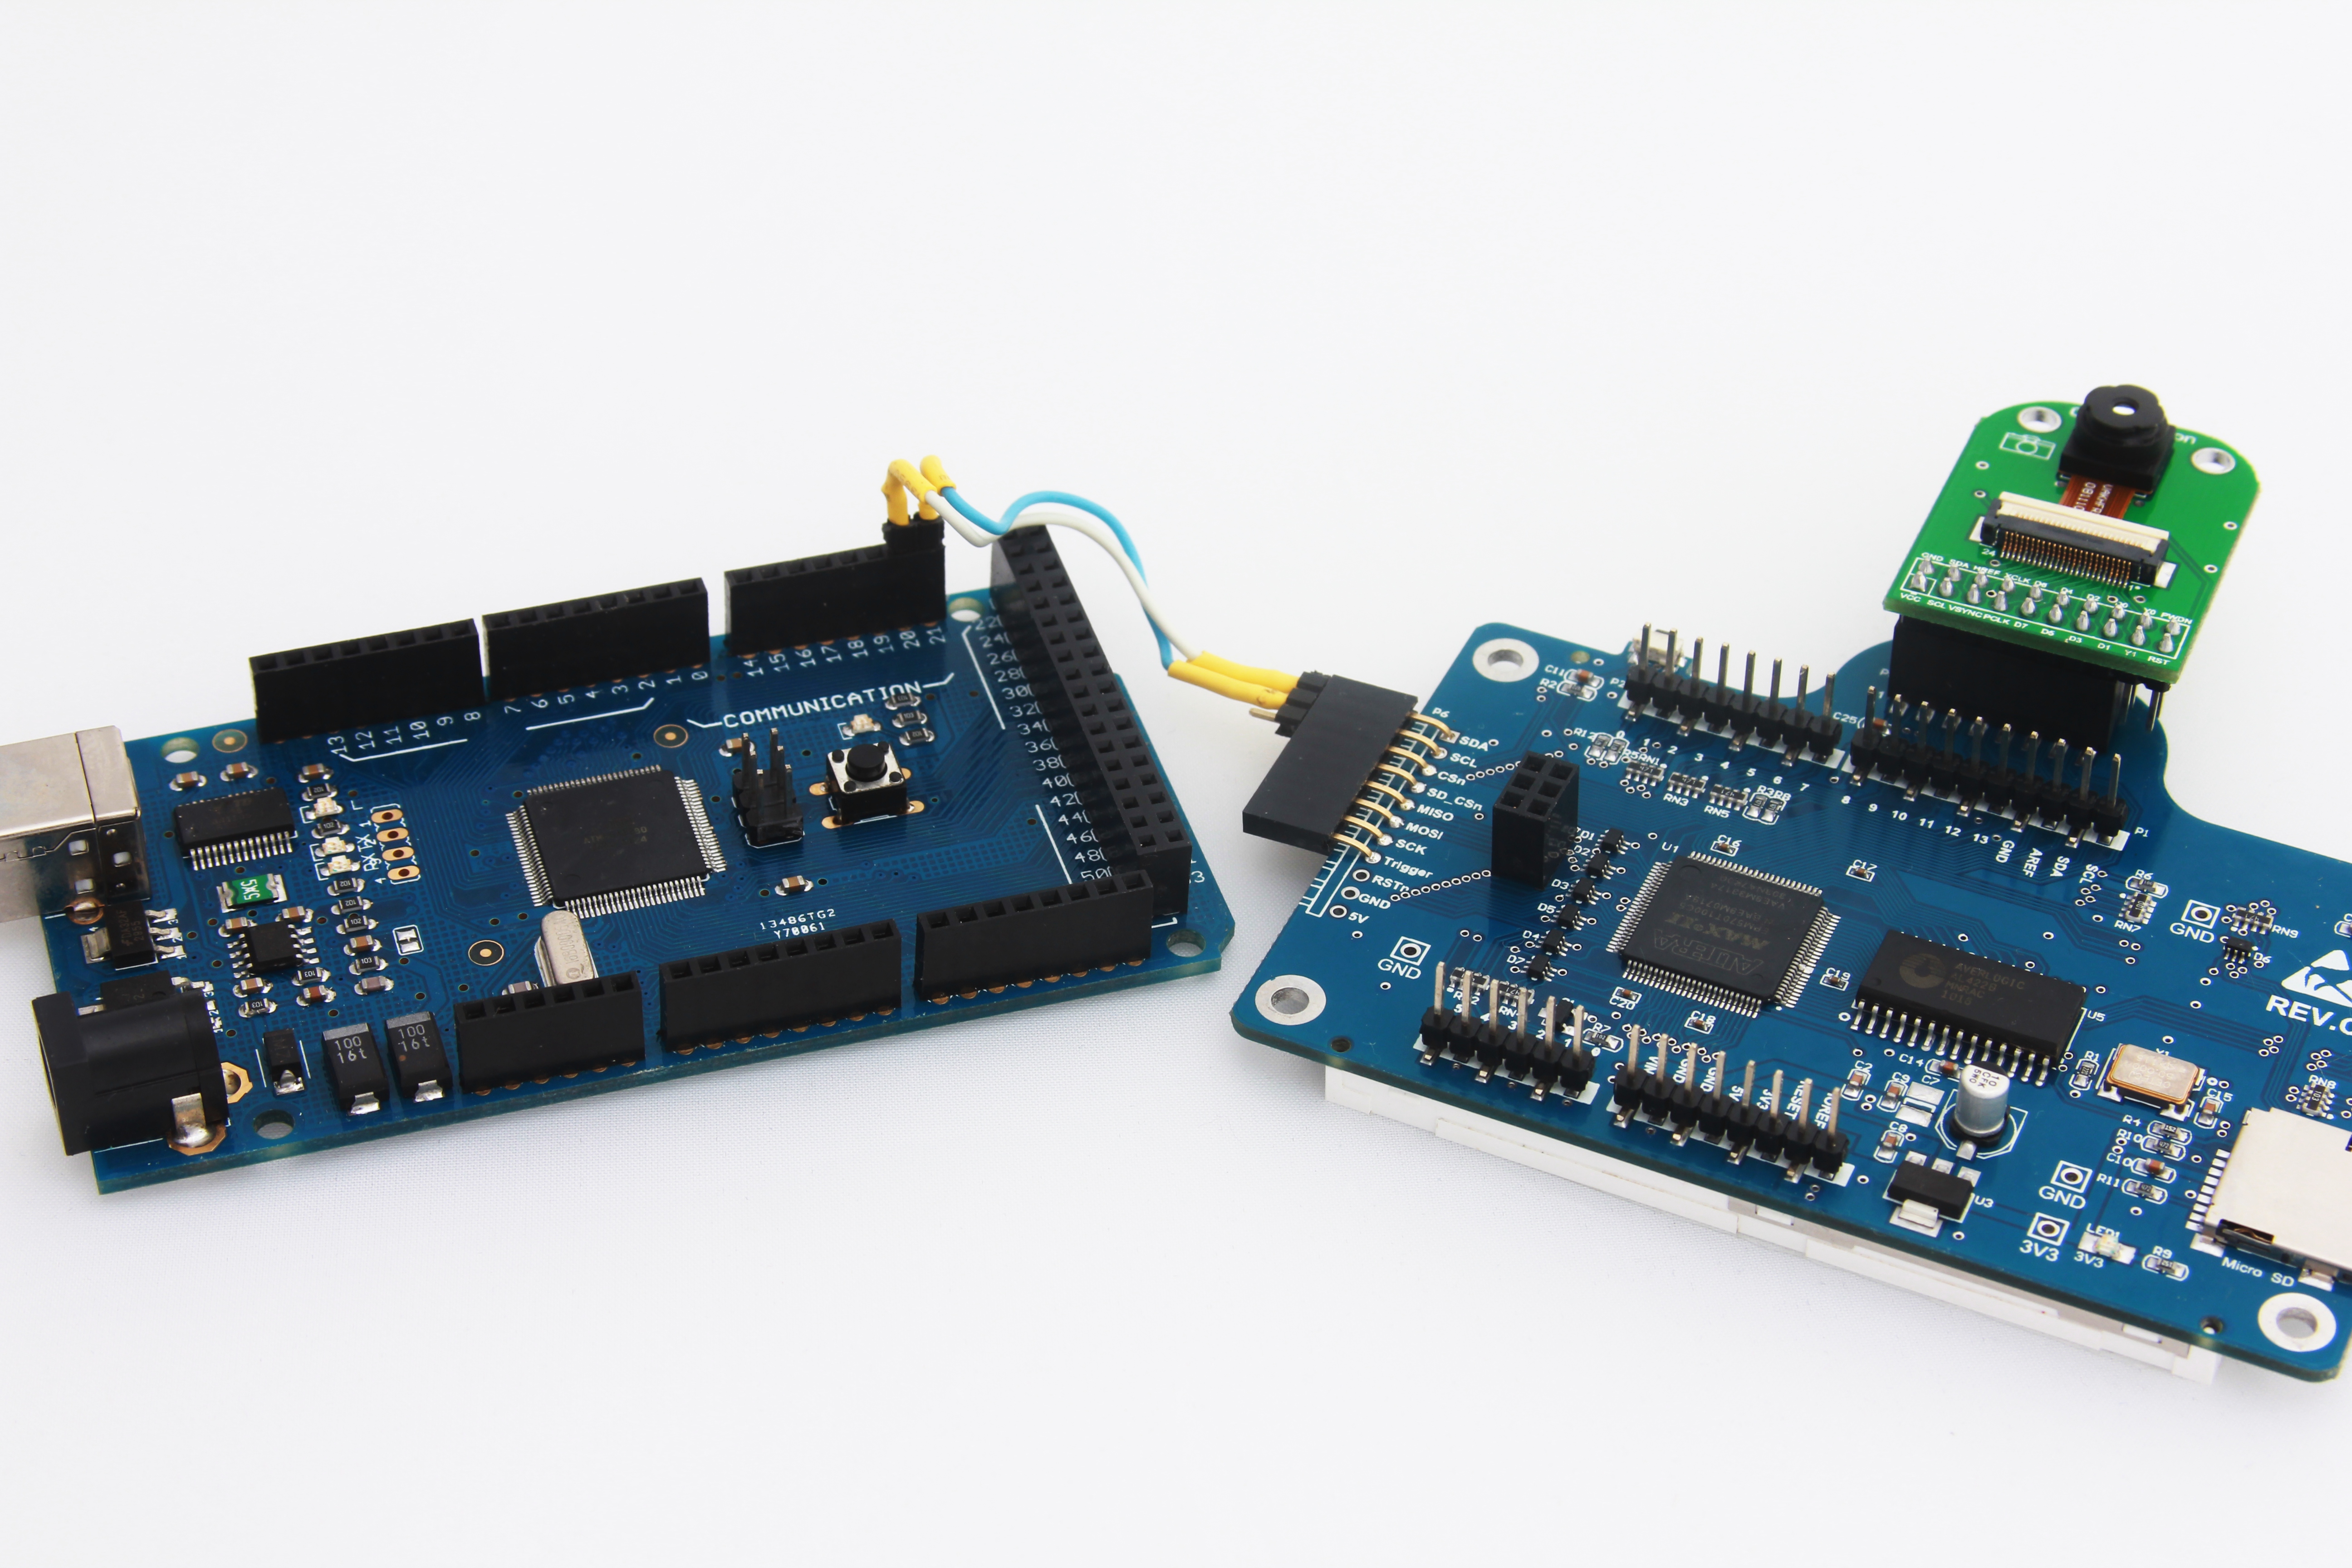
Arducam Rev. C and Arduino Mega
The final assembly looks bulky and it is not possible for a sensor to revolve or tilt unless the whole assembly is repositioned. And even being so bulky, the solution still lacks transport module of some kind to be able to upload data wirelessly to a server not to mention that it would be a big question on how to connect such a module as there is no convenient USB host interface or similar available.
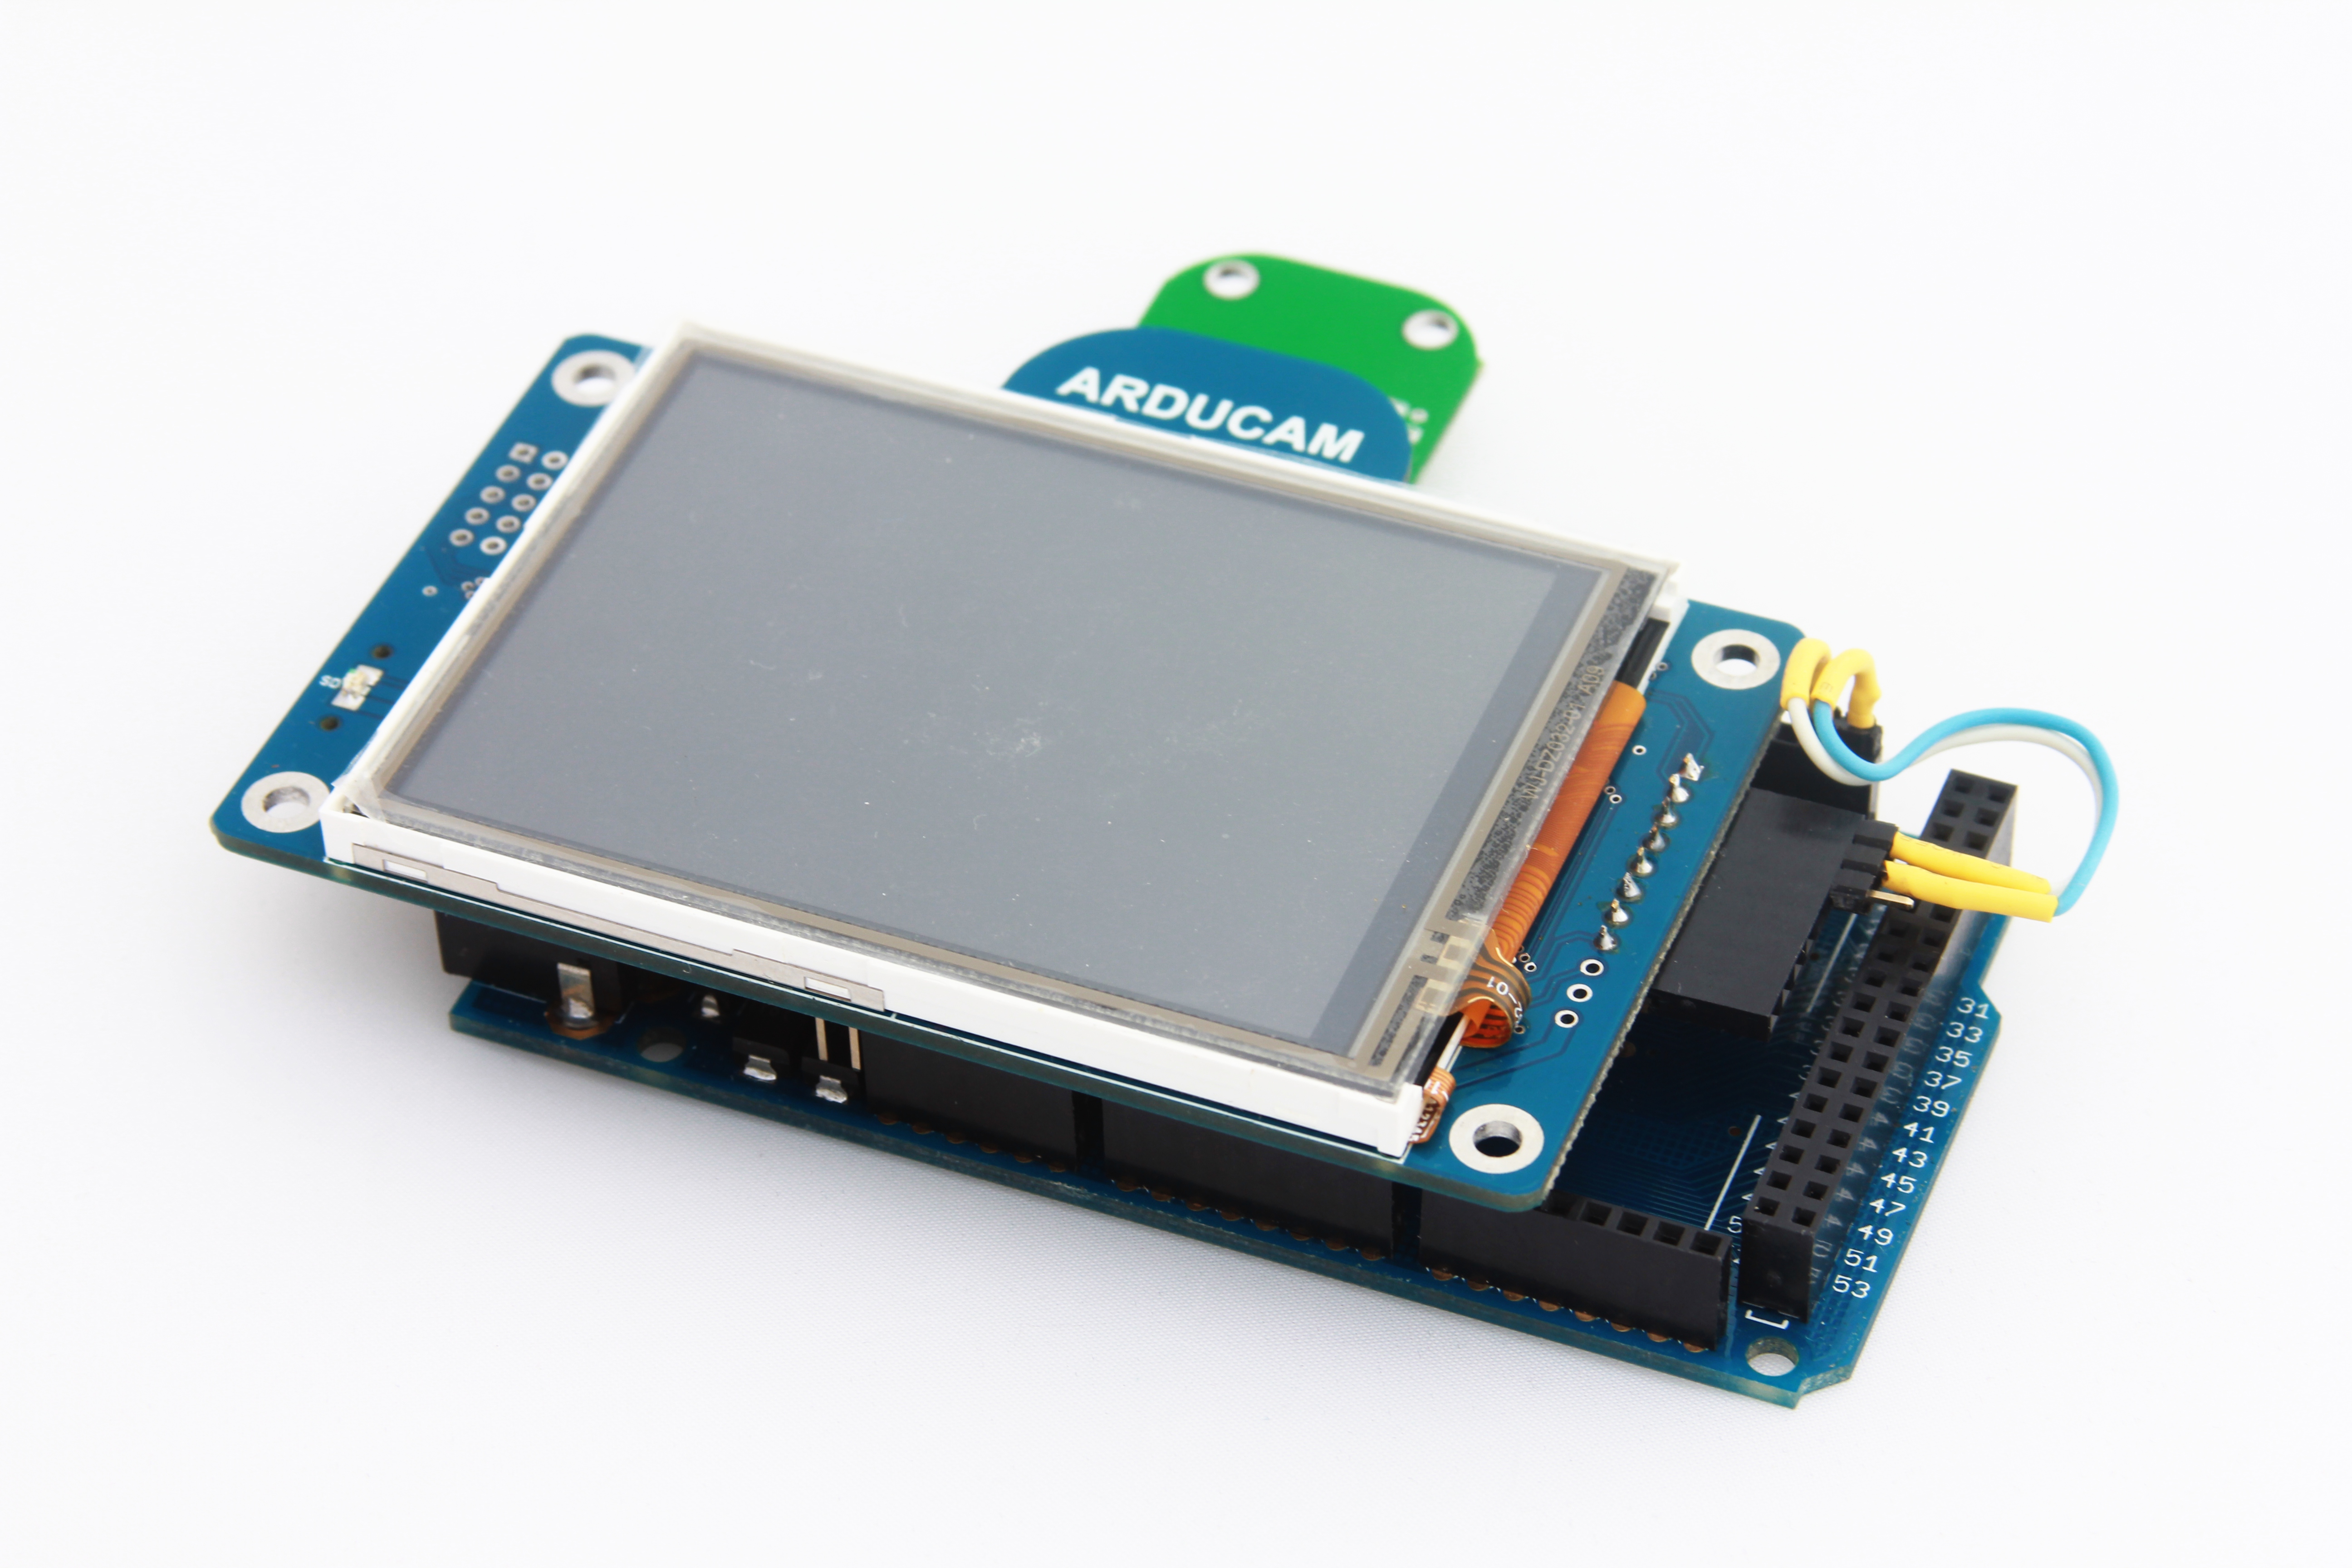
Arducam Rev. C assembled

Arducam Rev. C assembled Rear View
A typical picture taken in daylight conditions without tripod is given below. The picture is a bit blurry but still reasonably good for a custom made camera with fixed lens and iris.
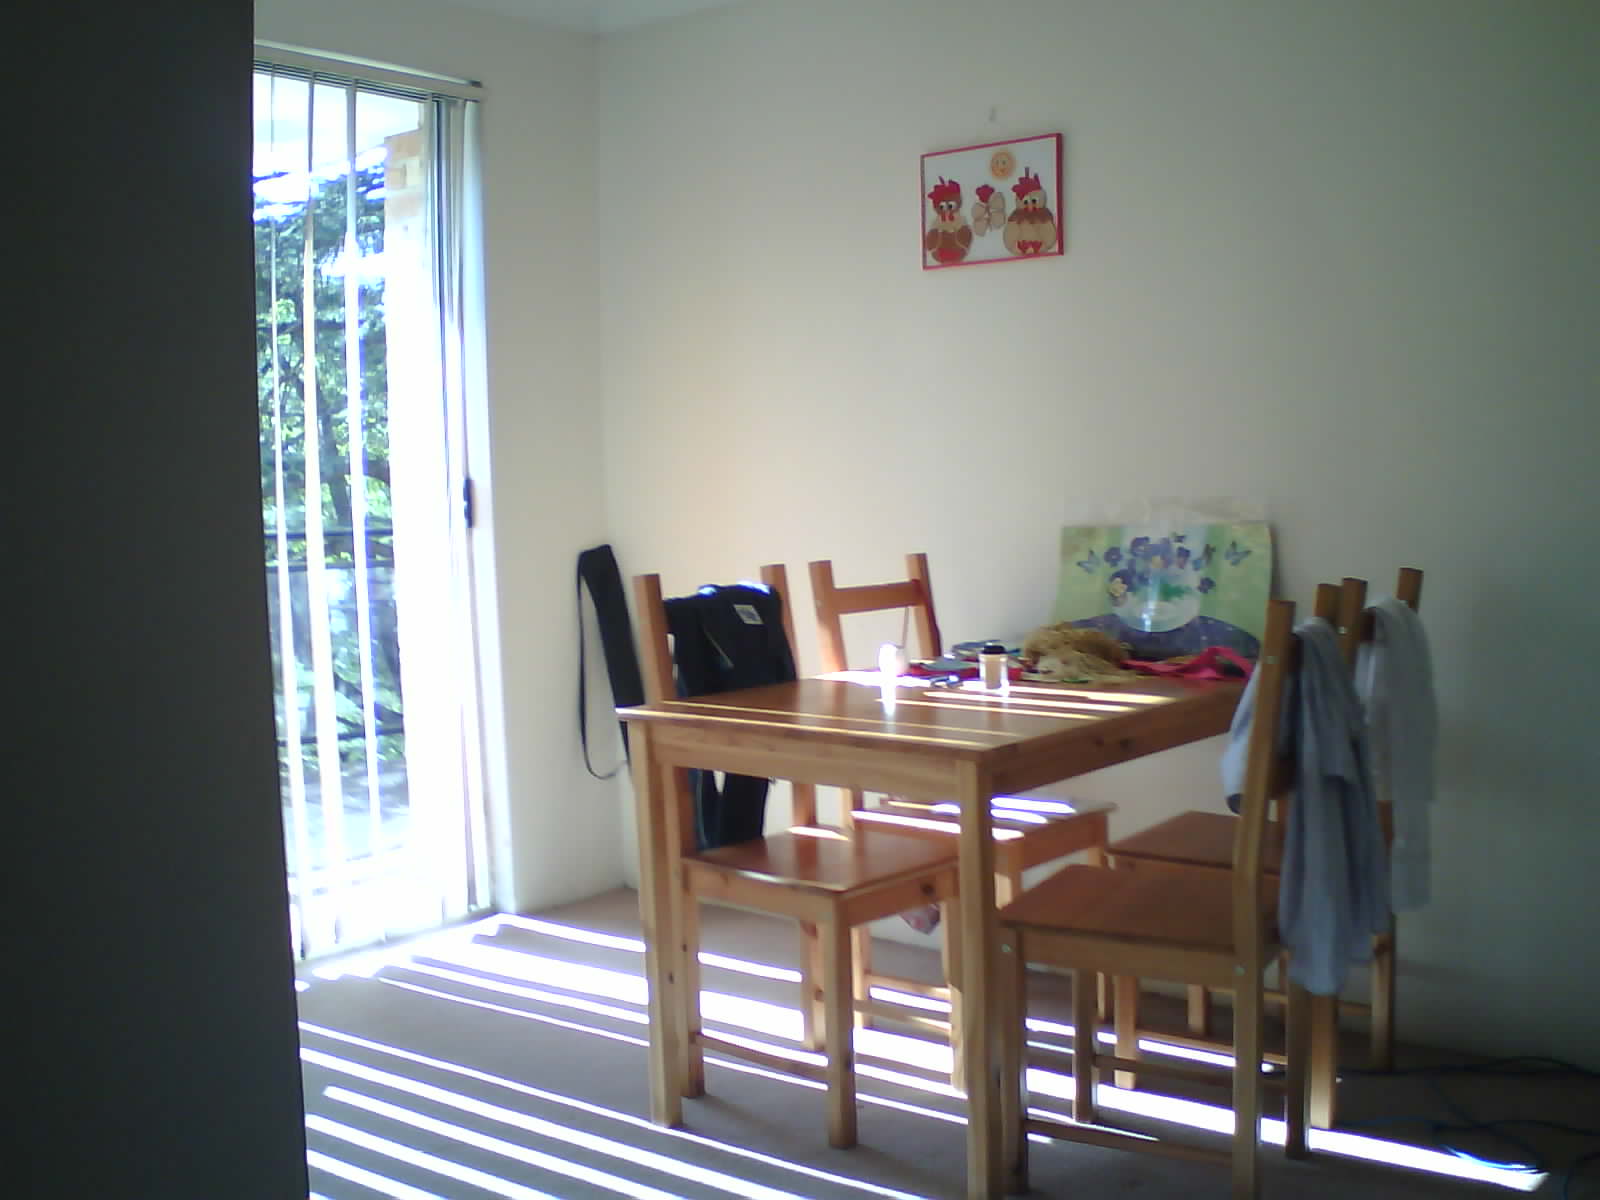
ArduCam 3MP Sensor Test
However, the picture is visibly noisy in dark regions and it has a little bit of fish eye distortion. On the other hand, the the size is only 107 Kbytes which is pretty good as it is easy to handle by basic embedded systems like Arduino.
To sum up, let’s give a synopsis on what we discovered:
– The idea and functional implementation are great but PCB’s form factor and closed source code along with design files kill both the idea and functionality making it impossible to adapt the project to something different from Arduino;
– Without design files available to the community there won’t be support for new image sensors so the project will decease as soon as Arducam guys shift their focus to something else when they won’t have enough resources to maintain this project;
– It is a big challenge to communicate with Arducam developers, those guys rather prefer to ignore your requests and comments unless they are in ‘guys_you_are_great’ style.


Leave a Reply
You must be logged in to post a comment.